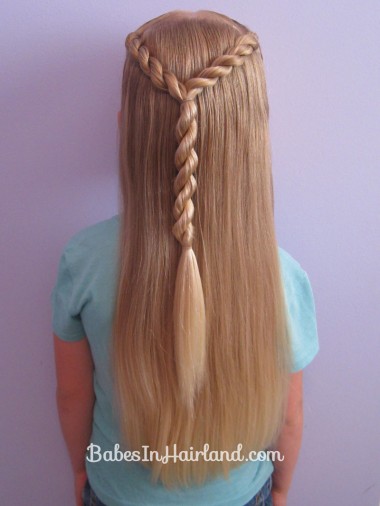
Y is for “Yak”
(That is the 1st word Bee gave me when I asked her what starts with Y!)
Here we are …. 25 letters down, and only 1 more to go. Perfect timing, since Bee finishes up pre-school this week. We’ll have the letter Z here for you shortly, but first the letter Y. Once again, this isn’t one that’s hard to figure out, but here’s how we did it.
Step 1 – Part the hair
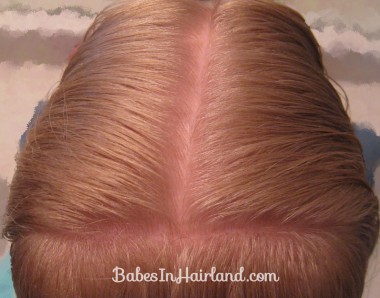
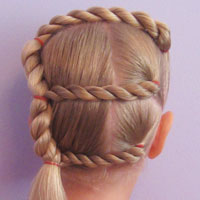
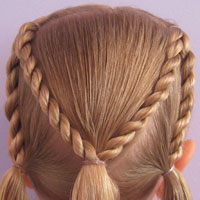
Part right down the middle of the head & then from ear to ear. Basically making part that looks like a T.
Step 2 – Make a ponytail
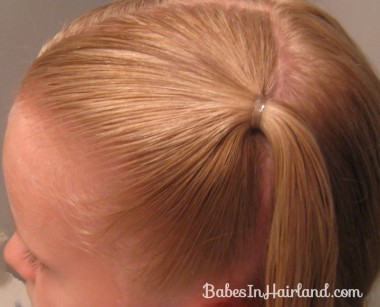
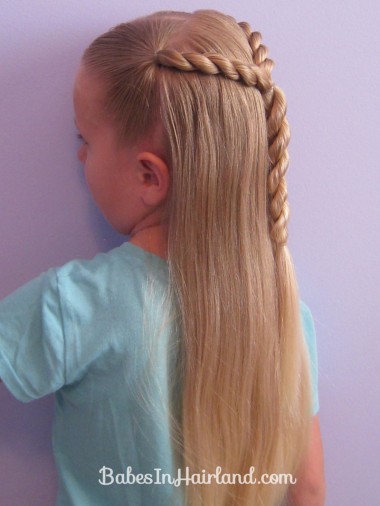
With the hair sectioned out on the left side, make a small ponytail and secure with a rubber band.
Step 3 – Make a rope braid
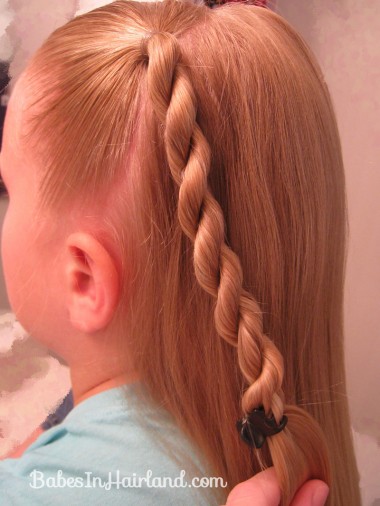
You can make a regular braid, a rope/twist braid, or whatever you prefer for this step. Temporarily secure it at the end.
Step 4 – Repeat steps 2 & 3 on the right side
Step 5 – Join the rope braids
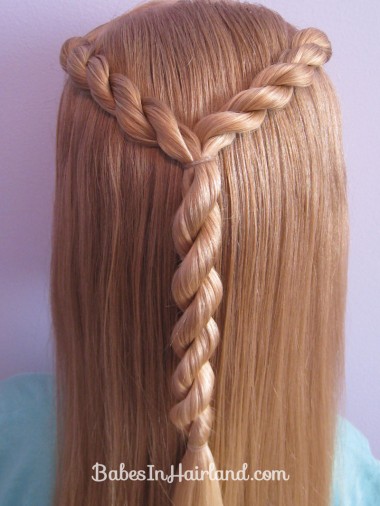
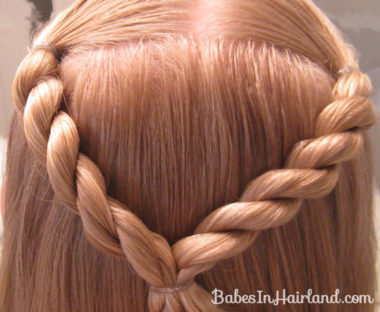
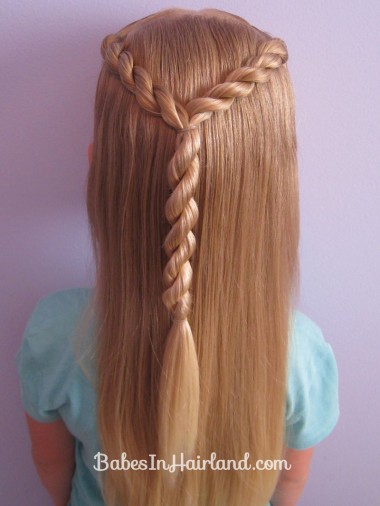
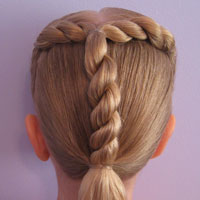
Bring the 2 rope braids to the middle in back & secure them with a rubber band to form a V.
Step 6 – Twist
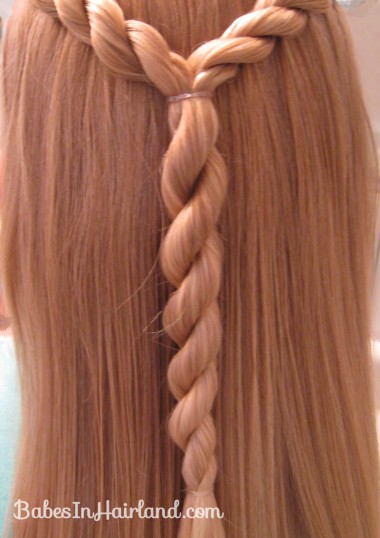
With the hair below the rubber band, make the bottom part of your Y and make another rope braid. Twist down as far as you like and secure with a rubber band.
Step 7 – (optional) Make a ponytail
If you don’t want the Y “free floating” on the back of the head, an optional way to finish this off would be to bring the remaining hair into a ponytail, adding the bottom of the Y into it.
You’re done!
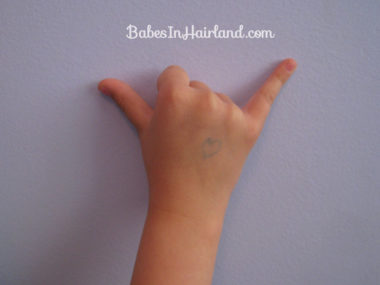
Bee just wanted to show you her hand with the letter Y in sign language this time!
I realized we technically did a “double Y” style on Bug that we called Bohemian/Hippy Braids, so you could definitely do it that way in back, making just 1 Y, or of course, make 2 like we did in that style. Either the hippy style, or this Y are quick & easy styles, for any day – even if you’re not looking for an ABC style!
