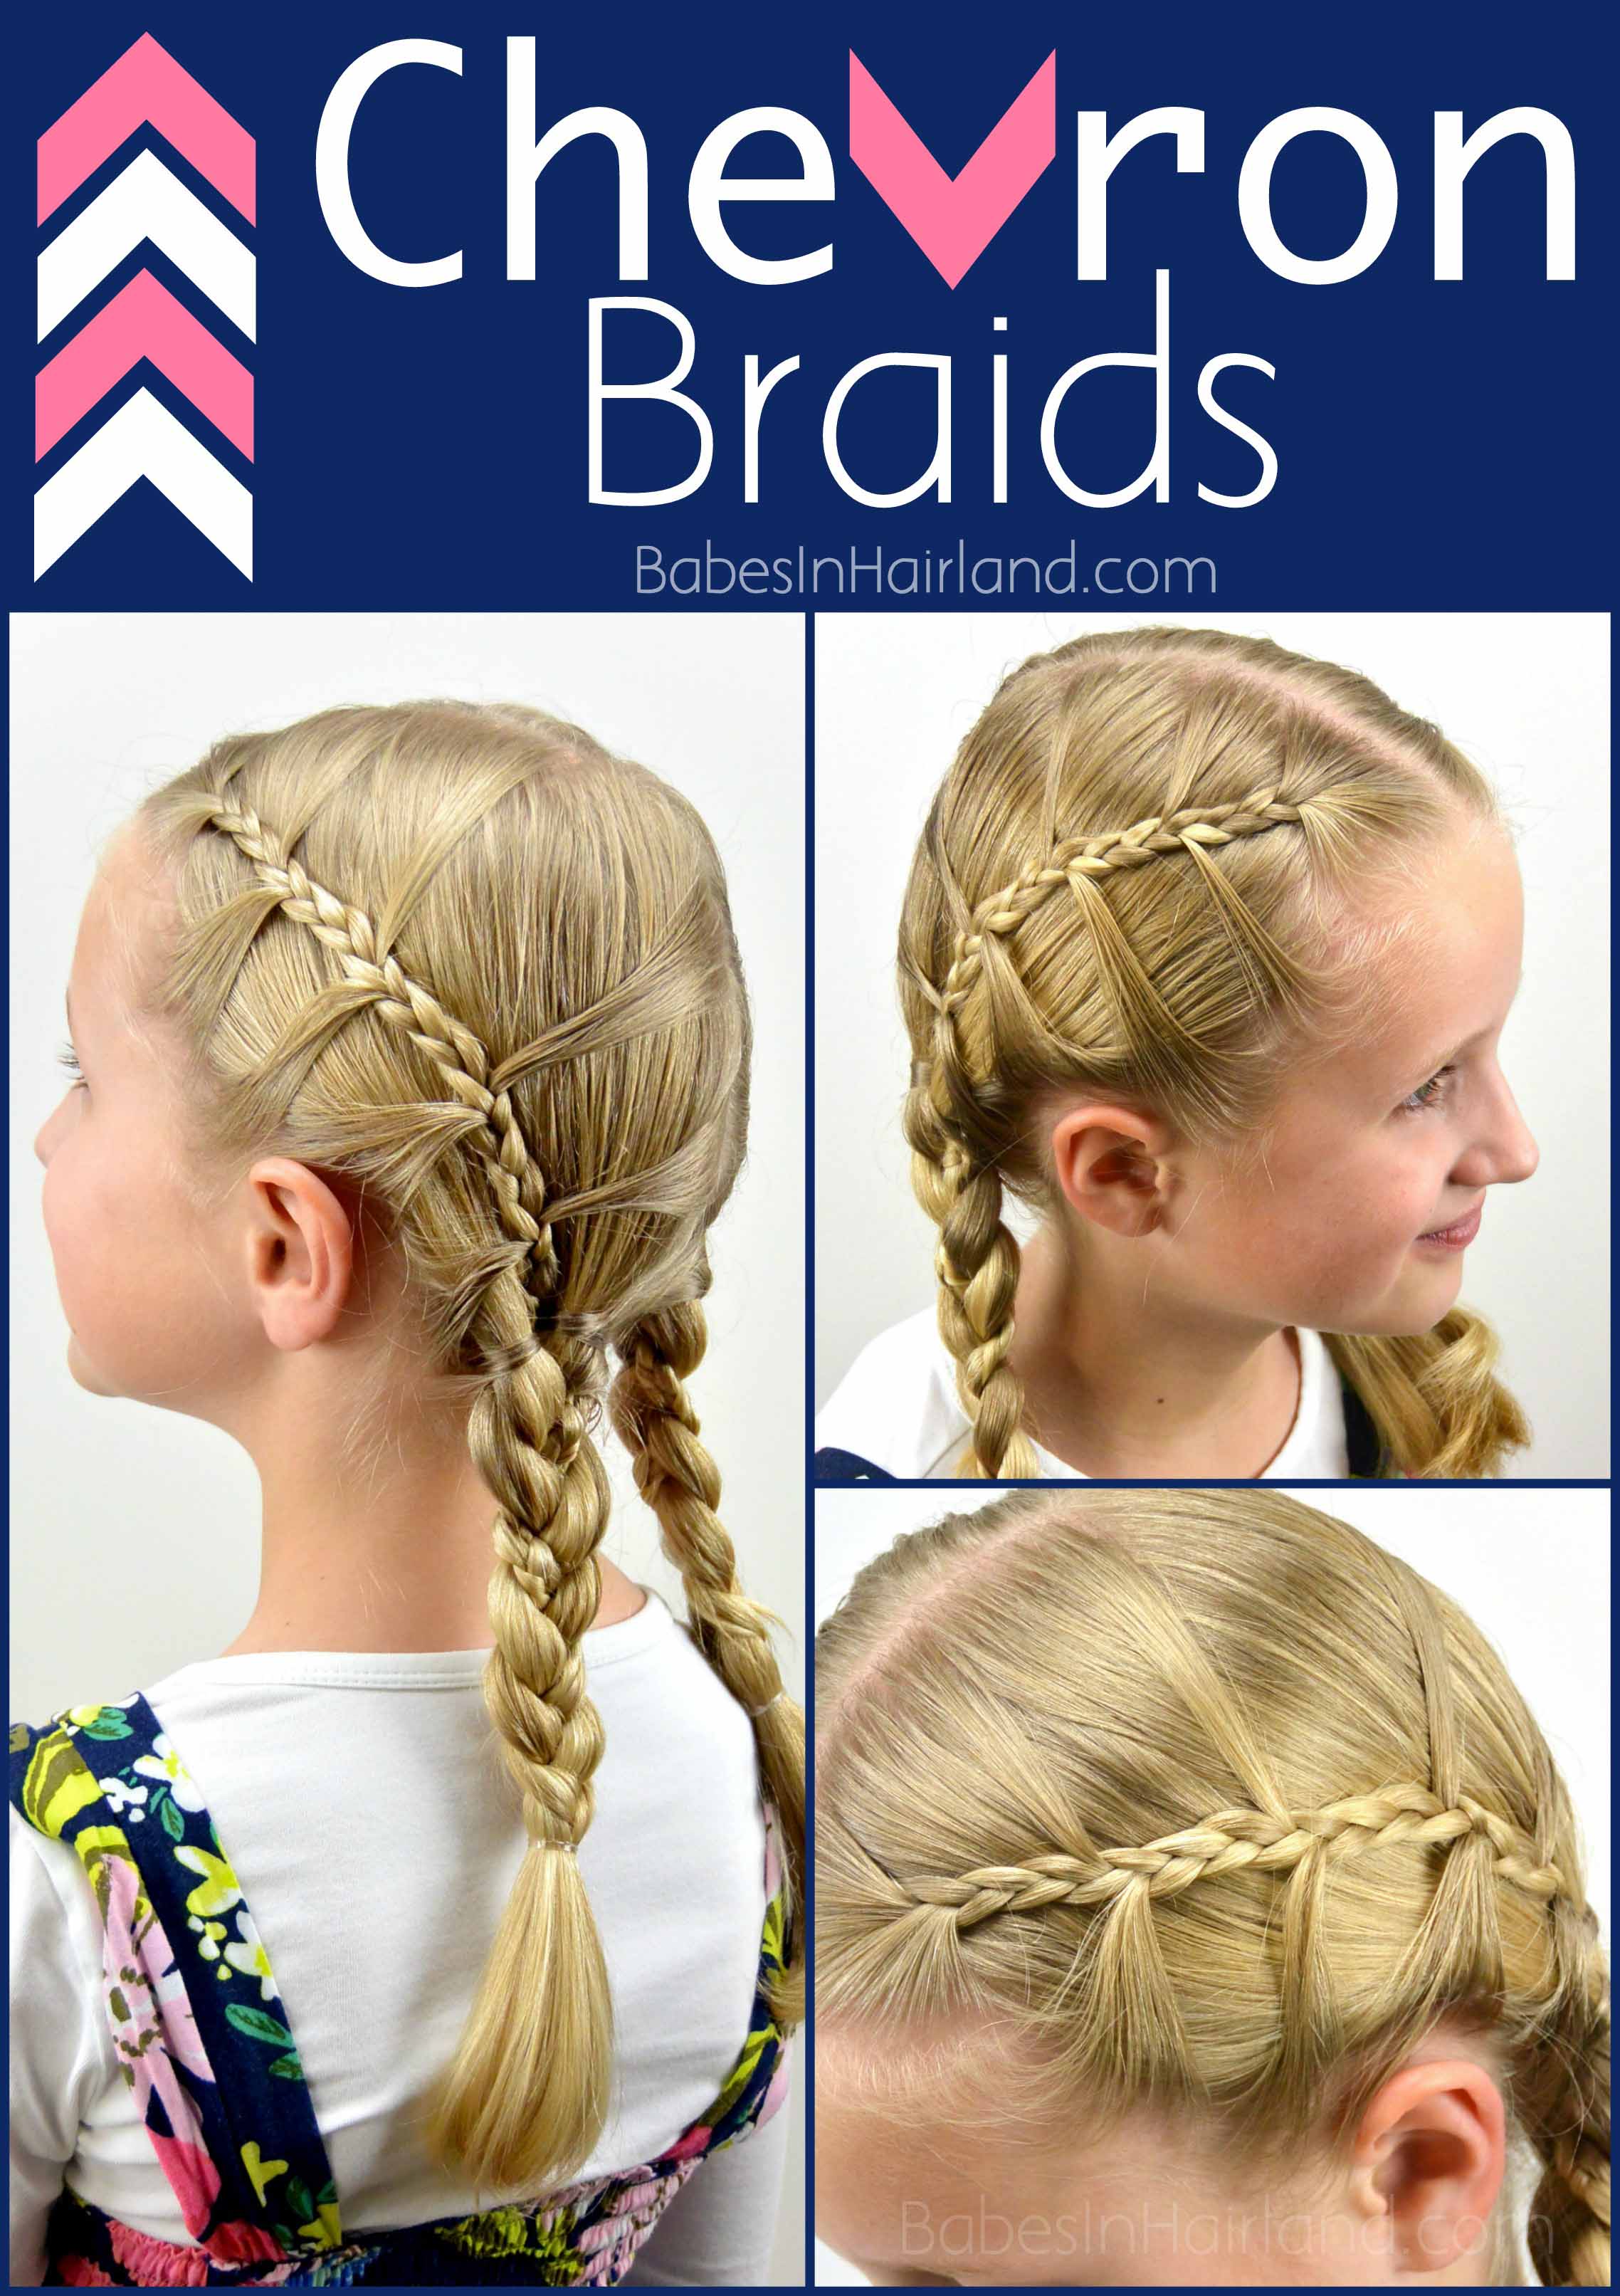
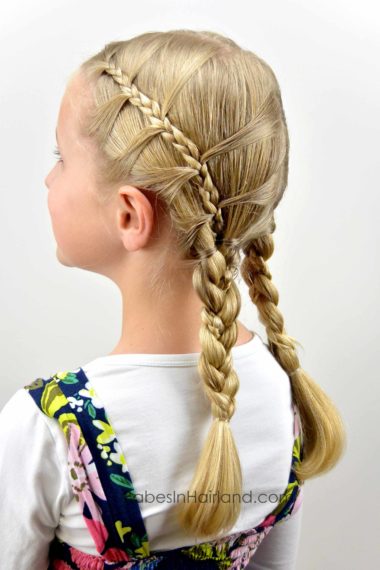
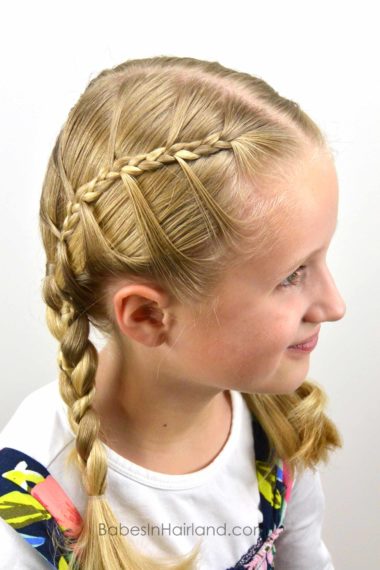
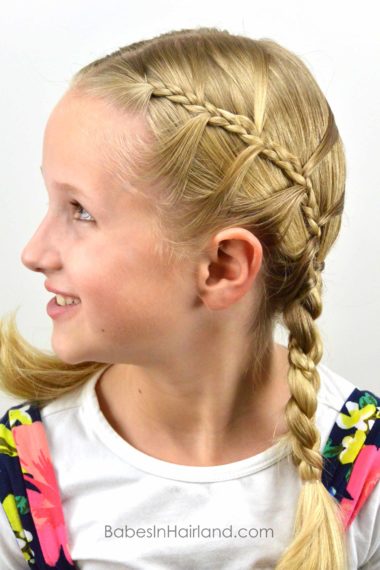
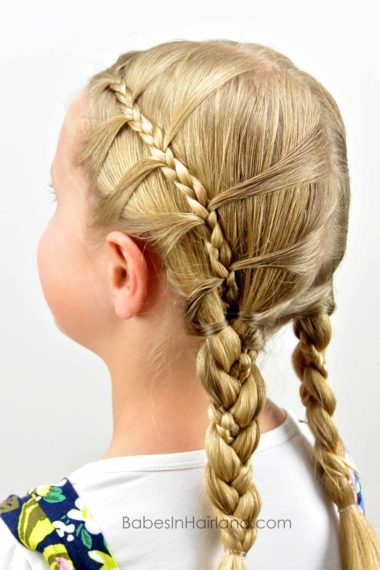
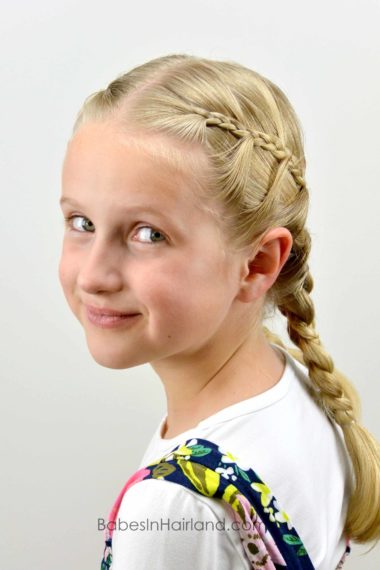
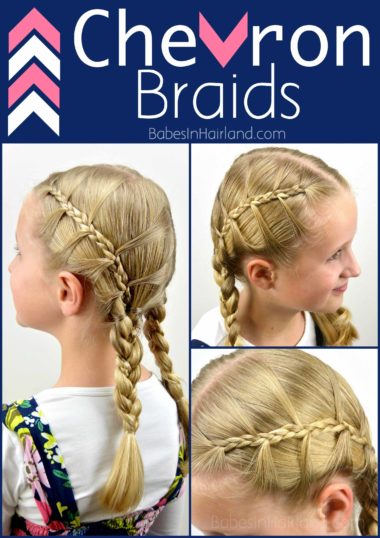
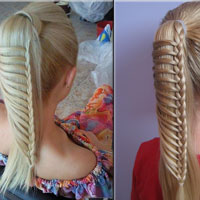
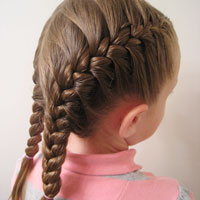
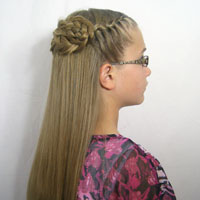
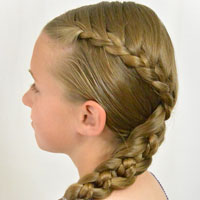
We originally had thought we’d call these arrow braids or floating French braids, but the girls decided they liked Chevron braids better. They are also sort of an “over laid French braid,” so there are many ways you could refer to these braids. We’ve done different versions of these, which I’ll have to post at a later date, but this version is such a cute one it’s what we’ve decided to share with you today. These aren’t overly difficult, and if you struggle with French braiding, you might especially like these since you aren’t adding hair as much as you would in a normal French braid.
Here’s our video to see how it’s done. You can end the braids and just put in ponytails instead of continuing the braid to the end, or you could even finish with little buns at the nape of the neck if you want. There are several ways you could finish this style off, so I love that there are many options to this style!
Step 1 – Make a center part from forehead to nape of the neck
Step 2 – Near the forehead section out a small amount of hair and begin a regular 3 strand braid
Step 3 – Do 3 full “rotations” or stitches of the braid
Right section over middle, left section over middle — that is 1 full rotation and you’ll want to do that 3 times so you can see the braid forming before you add any hair.
Step 4 – Cross the right section over the middle, then near the center part grab a small amount of hair and add it into the braid
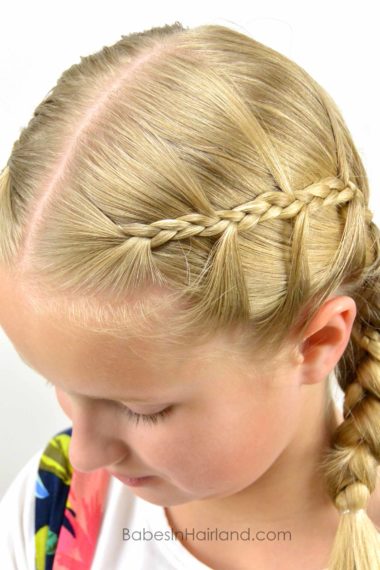
You want the sections you add to be small, so you can see the design they start to create on top of the hair, so be sure you don’t add too much.
Step 5 – Cross the left section over the middle, then near the temple, grab a small amount of hair and add it to the braid
Step 6 – Next, braid only 2 rotations or stitches of the braid to make a space between the hair you just added
Step 7 – Now cross the right strand over the middle strand and near the center part grab a small amount of hair and add it into the braid
Step 8 – Cross the left section over the middle, then near the ear, grab a small amount of hair and add it to the braid
Step 9 – Continue process, braiding 2 full rotations, adding hair to the right and left sides until you reach the nape of the neck
Step 10 – Stop adding hair and continue the small braid until you run out of hair, then temporarily secure the end
Step 11 – Divide remaining straight hair in half and let the small braid be in the middle
Step 12 – Begin a regular 3 strand braid using the small braid as the middle section
Step 13 – Secure the end with an elastic
Step 14 – Repeat on opposite side of the head
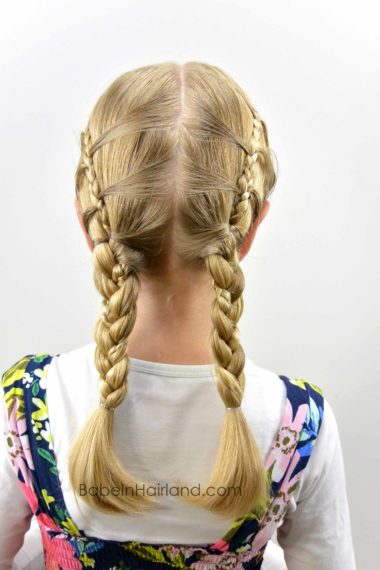
To get things to line up correctly after you’ve done the first side, be sure you do the exact same amount of rotations on the braid before adding hair. You want things to line up along the part so it looks uniform.
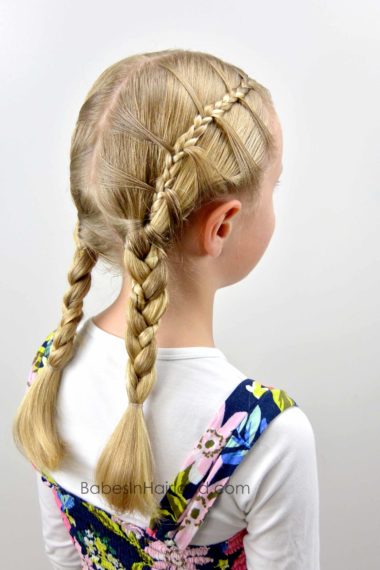
FINISHED!
As mentioned, be sure to to do the exact same amount of stitches as you braid down, so those sections of hair you are grabbing near the center part line up when you are all done. Also be sure the amount of hair you add is pretty uniform so it also looks about the same on each side.
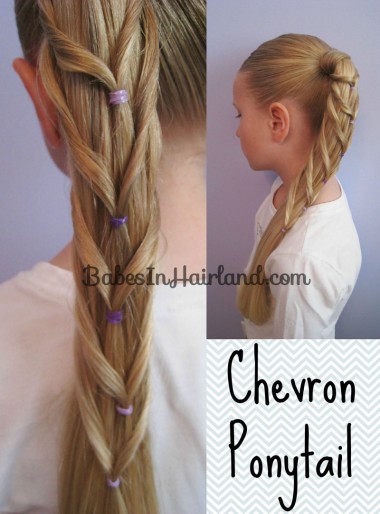
And if you love Chevron, don’t forget about our gorgeous Chevron Ponytail. Click HERE for our Chevron Ponytail tutorial.
Also, if you’re looking for ideas for St. Patrick’s Day, be sure to check out our round-up of 10 Pinch Proof Fun & Frugal DIY Hair Accessories for St. Patrick’s Day.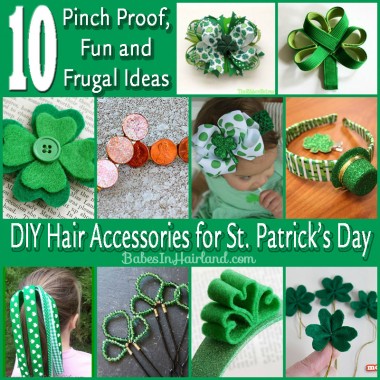
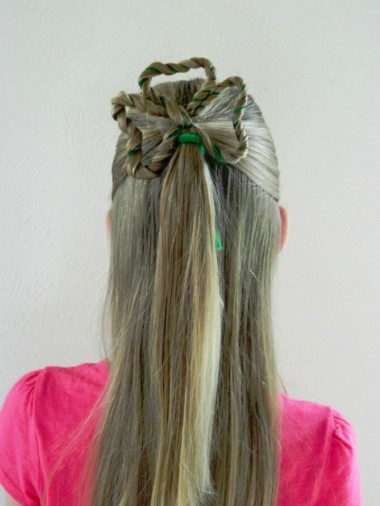
Or check out the fun St. Patrick’s Day Lucky Clover Hairstyle we shared from Bonita Hairdo last year. It’s such a cute & festive one for the holiday!
And of course – don’t forget to share this and pin one of the images below for reference later!
