The last month and a half have been extremely busy, and one of the reasons is that Bee turned 8 years old. That is a milestone birthday at our house, because it means you can be baptized. I’ve shared things about what I believe in the past, and I’ve also shared a few things when the other two girls got baptized, but I guess because it was my baby this time, it was a bit different! So a couple of weeks ago, Bee made the decision to follow Jesus Christ and was baptized, which means she is now an “official” member of The Church of Jesus Christ of Latter-Day Saints – aka Mormons. We couldn’t be happier.
Depending on what you believe and what church you belong to, it seems everyone baptizes a little differently. In The Church of Jesus Christ of Latter-Day Saints, a person being baptized must be baptized by someone who has God’s priesthood authority, and they are baptized by immersion (meaning completely covered in water.) So this means the person must go completely under the water – including every hair on their head! So that means a good secure hairstyle for us!
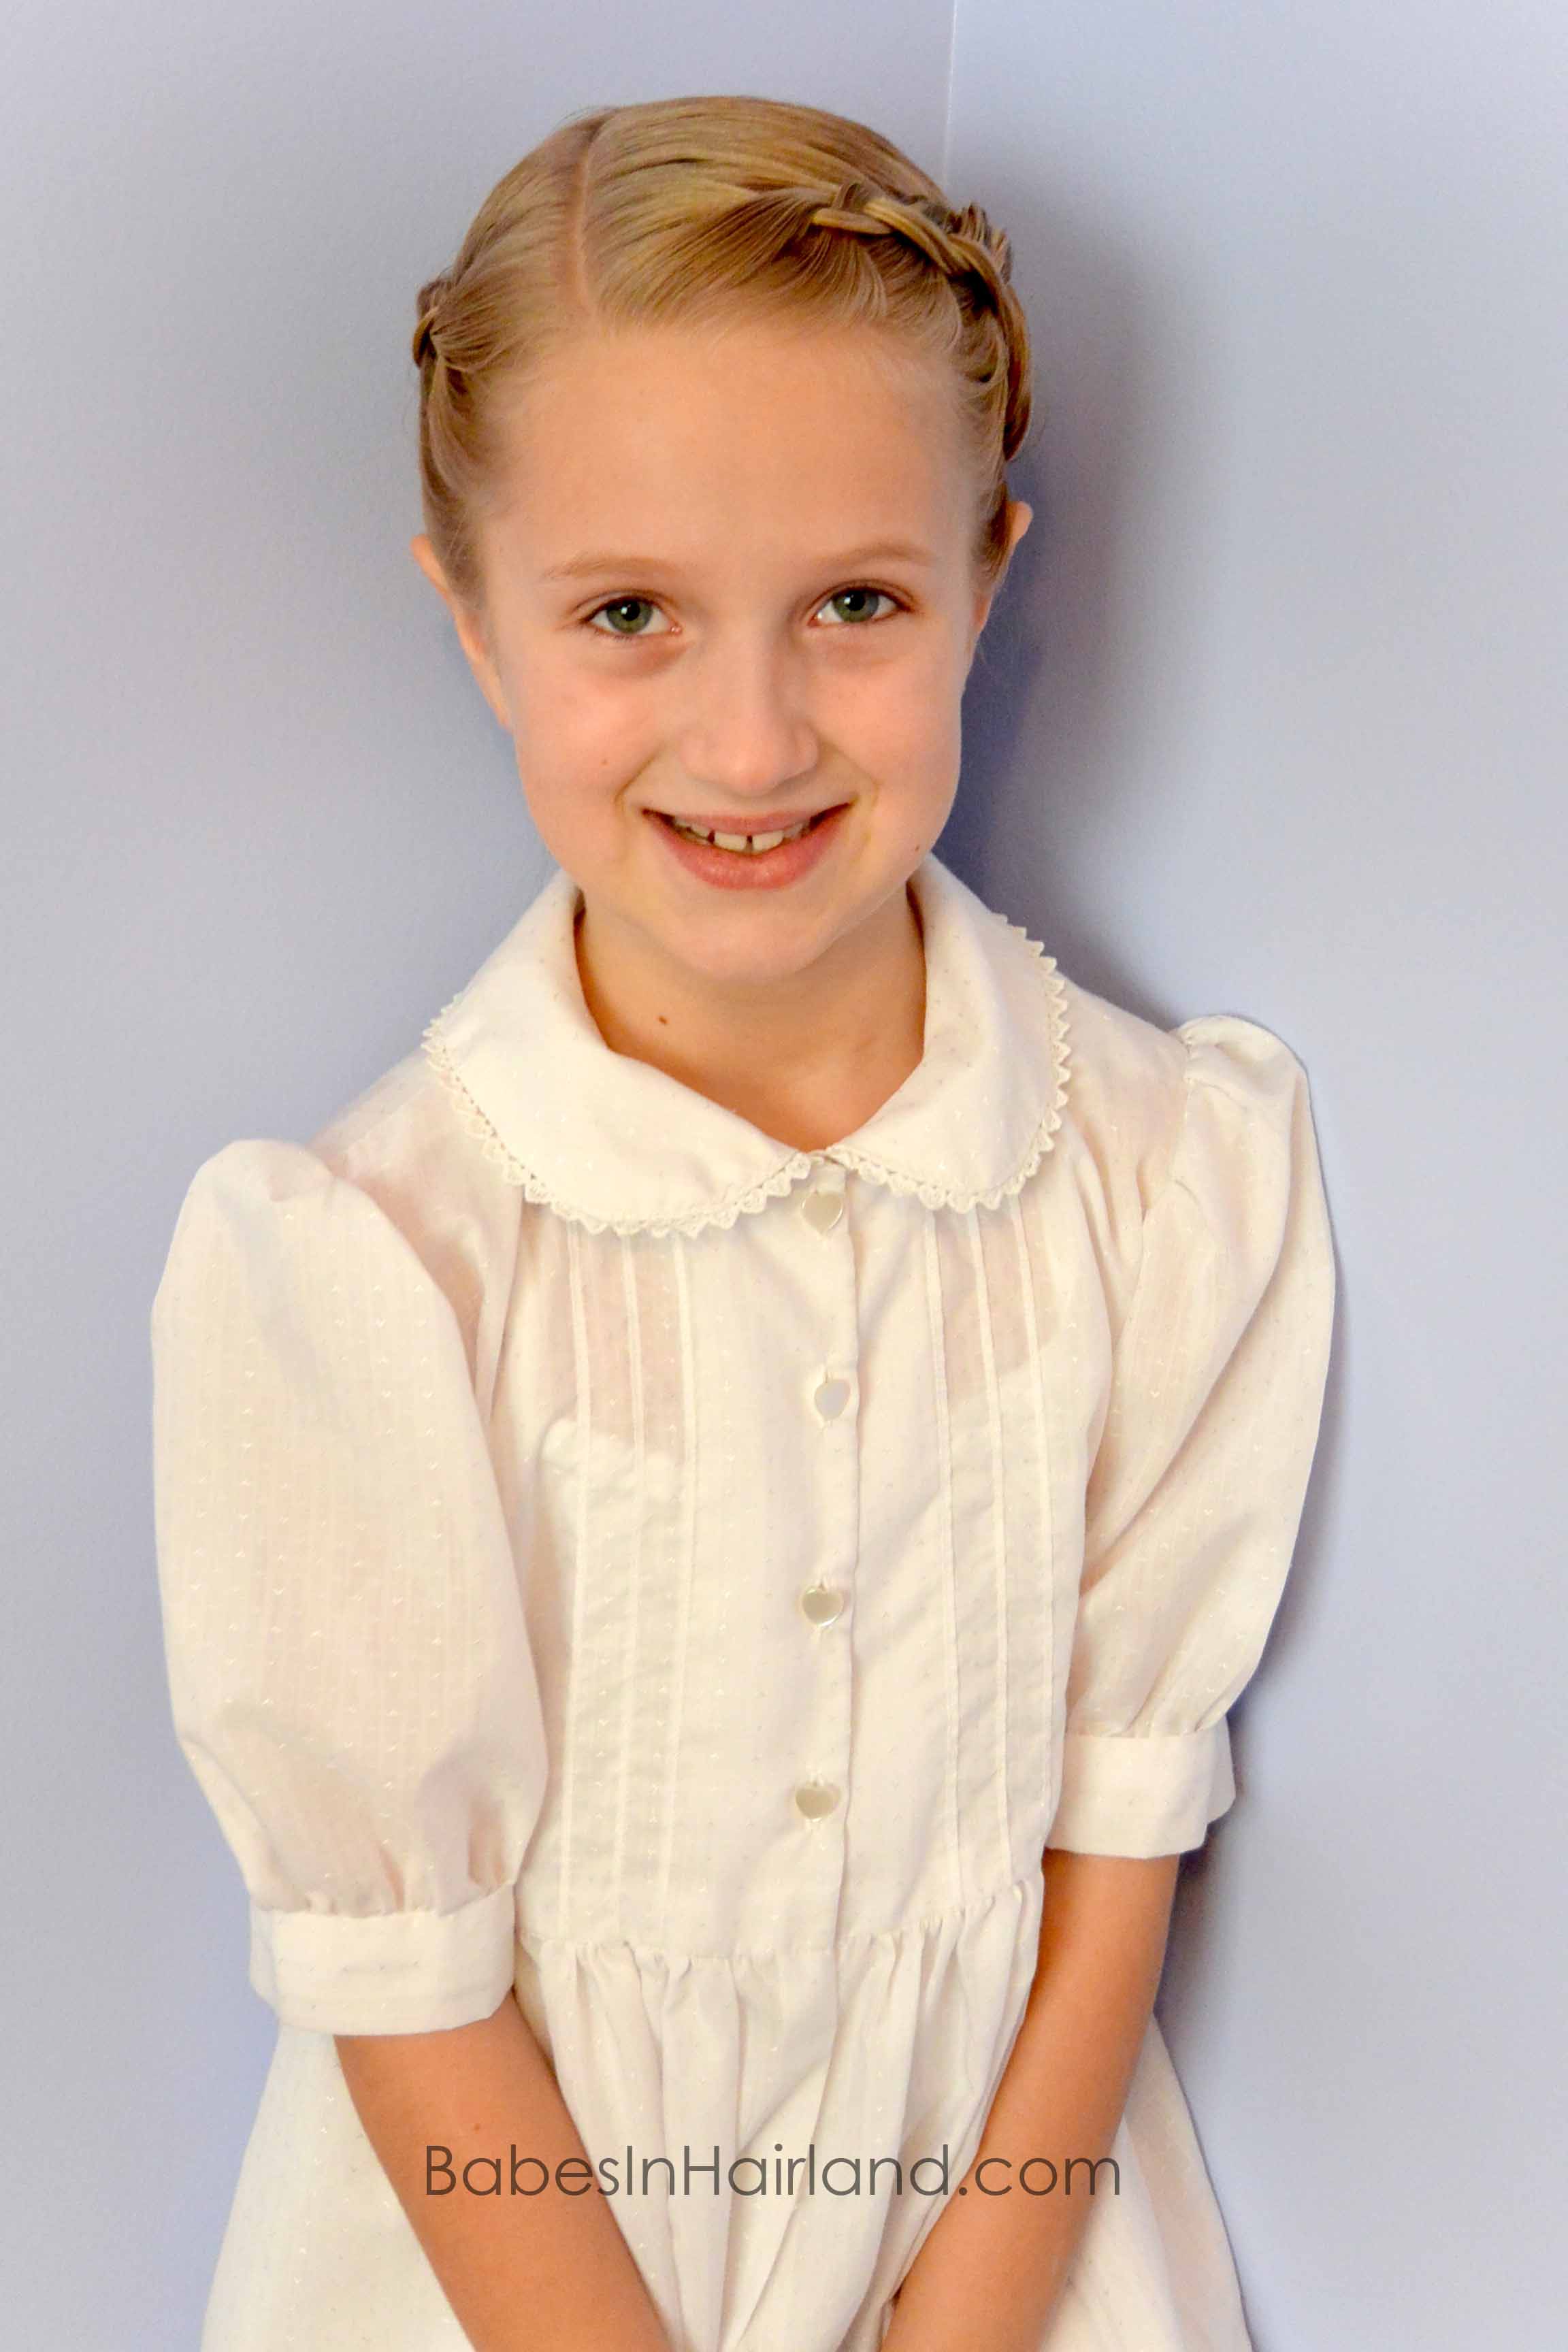
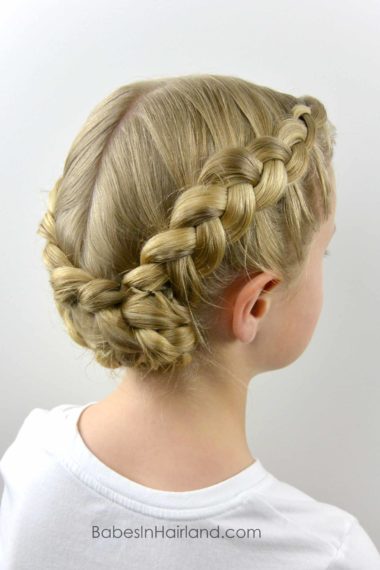
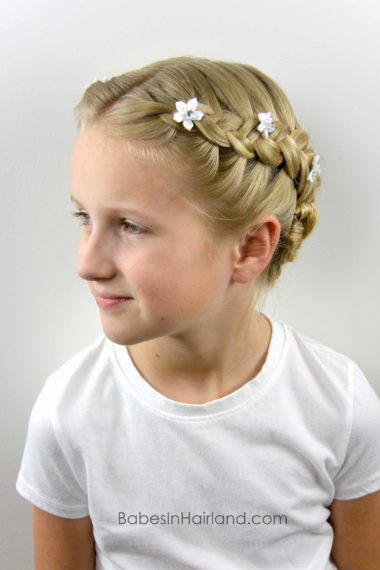
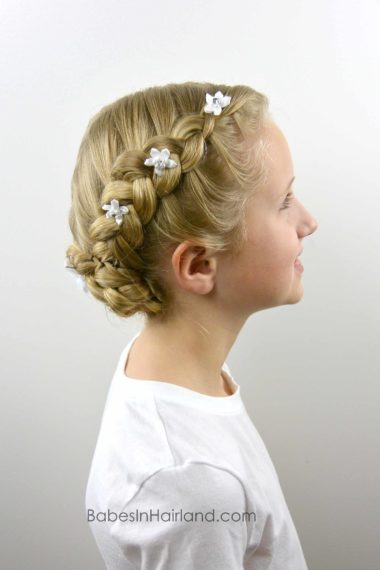
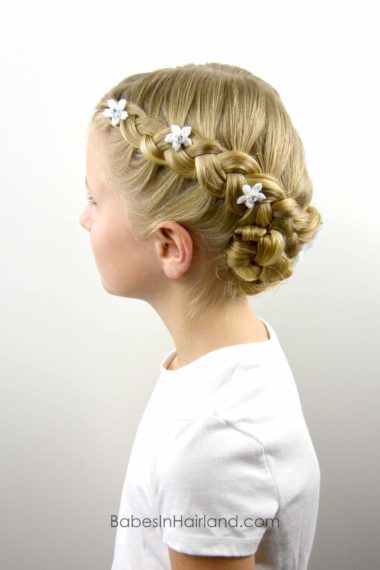
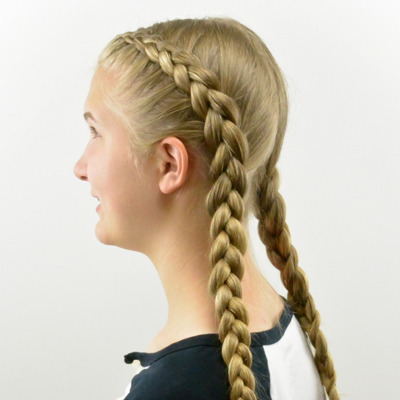
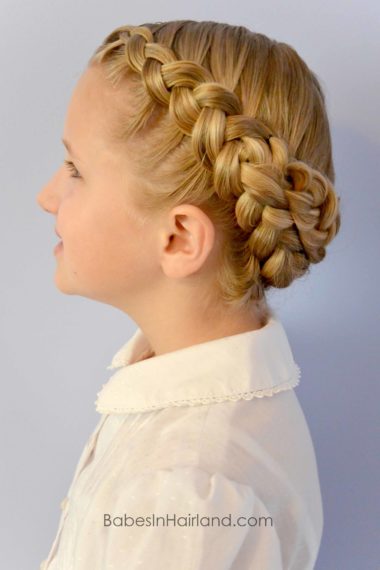
We wanted to share the pretty Dutch braided hairstyle we made for Bee on her special day. I wanted something that would hold up to her getting completely wet, and still be in good shape afterward for her confirmation, but that was just a bit fancier than “plain braids”. With her hair being a bit shorter I was a bit worried that things wouldn’t stay put, but I am happy to report this one worked great!
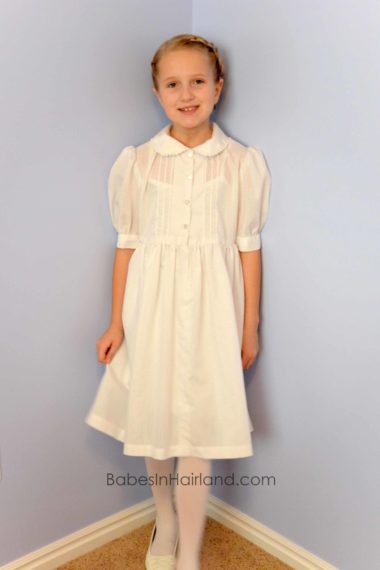
And I’ve just got to add, that the dress she’s wearing is the dress my mom made for me to be baptized in, and now all my girls have worn it as well. Then we’ve gotten them a “new” dress to wear afterwards (which we’ll be sharing next week!) So that pretty dress is quite special in our family!
I also realized, I don’t know if I’ve ever done a tutorial for a Dutch braid, so this can double as both a Dutch braid tutorial (aka inside out French braid or reverse French braid) as well as our baptism hairstyle.
Step 1 – Make a center part from the forehead to the nape of the neck (straight or zig-zag)
Step 2 – On the left side of the part, near the forehead section out a small amount of hair
Step 3 – Divide that section into 3 pieces
Step 4 – Pass the right piece of hair under the middle piece, and then pass the left piece under the middle piece
This is one full rotation of the braid. Be sure you are passing the hair under or it will just be a regular French braid. You could definitely do this style as a regular French braid if it’s easier for you. You just can’t pancake or flatten the braids as easily, which is what I wanted for this style.
Step 5 – Pass the right piece of hair under the middle piece again, then add a small amount of hair to that same piece you just passed under
Step 6 – Pass the left section of hair under the middle piece, and add a small amount of hair from below to that same piece you just passed under
Step 7 – Repeat this same process, crossing hair under and adding hair until you reach the nape of the neck & can no longer add hair
Be sure to gently pull on the edges of the braid as you are working your way down the head, so you can flatten or pancake the braid. This, of course, is optional.
Step 8 – Create a regular braid with remaining hair and secure the end with an elastic
Step 9 – Repeat steps 2-8 on the right side of the head.
Step 10 – Take the end of the left braid and cross it over to the right side of the head & secure with bobby pins
Step 11 – Take the end of the right braid and cross it over to the left side of the head. Lay it under the other braid & secure with bobby pins.
Depending on the length of hair you are working with will determine how much braid you will have to wrap. Her hair is short enough that I just fold the ends or tails of the braids under things and secure them with bobby pins.
Step 12 – Secure braids and ends of braids with bobby pins as needed
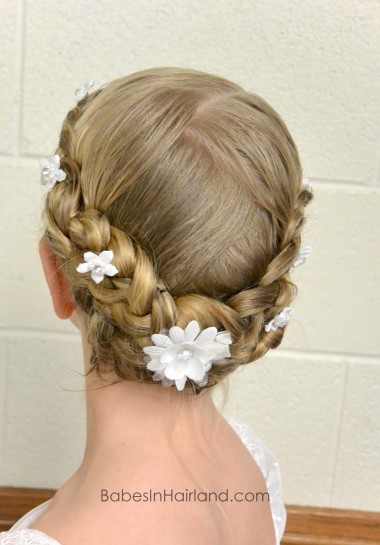
Step 13 – Add some pretty flowers or accessories if desired
FINISHED! 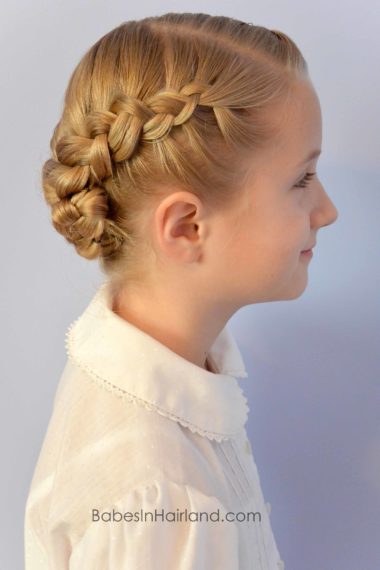
These pictures are from her actual baptism day – before she was baptized. We made sure we used plenty of bobby pins to hold things in place, and sprayed her hair with hairspray as well.
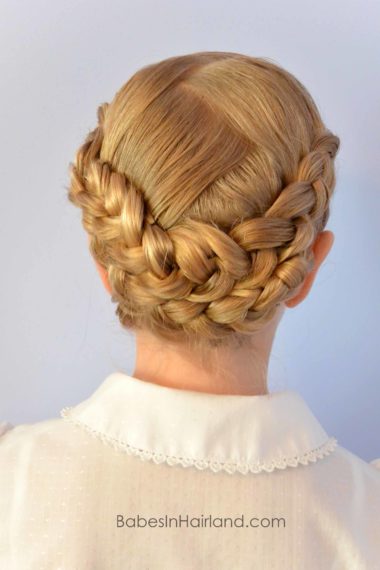
 And here is her hair after she’d been completely immersed in water and dried off. We gently squeezed her hair with a towel, and then added our pretty baptism hair pins (see how we made the flower hair pins HERE) around in her braids. We were happy to see things held up perfectly.
 Now this is the face of a girl who is beyond happy. She was just beaming. She knows she made the right choice to be baptized, and so for me, this picture is priceless! 🙂
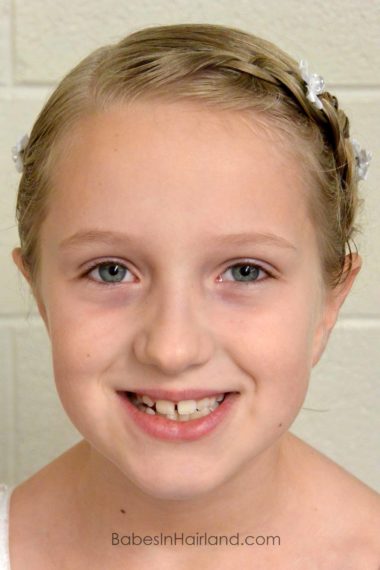 So pretty, right? You’d never know she’d just been under water!
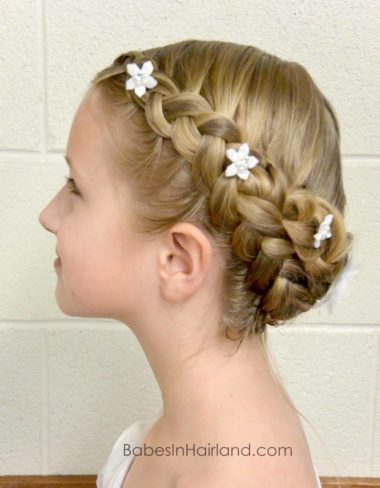 Then here are a few from our tutorial – the first one is without the hair pins we made, but I think they dress up the style so much!
You can see all our other baptism and baptism hair posts HERE.
You won’t want to miss next weeks post, so be sure to come back to check it out. We’ll be sharing Bee’s gorgeous “after baptism” dress and hairstyle from her photo shoot. I’ve been dying to share pictures!
