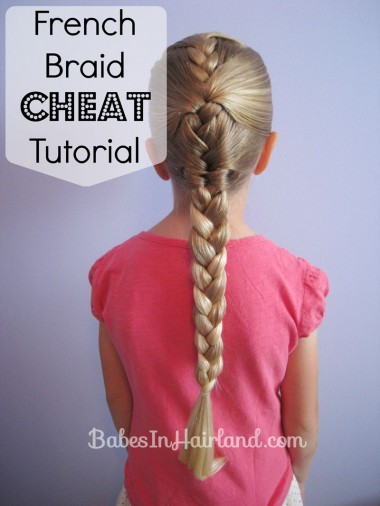
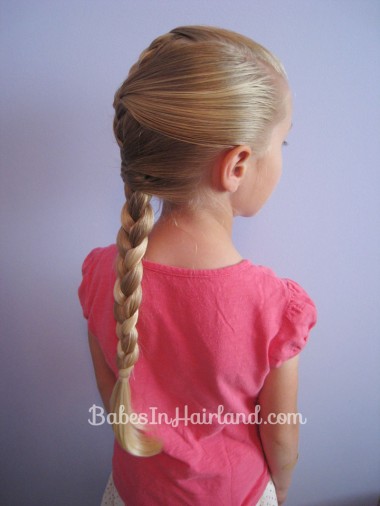
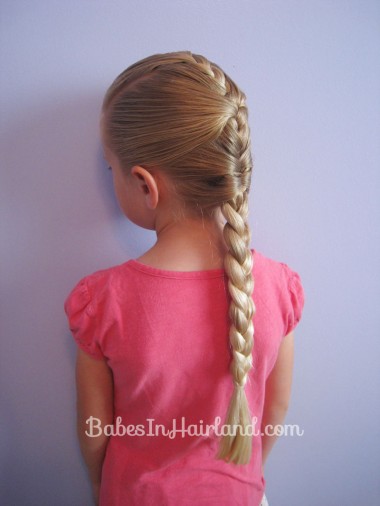
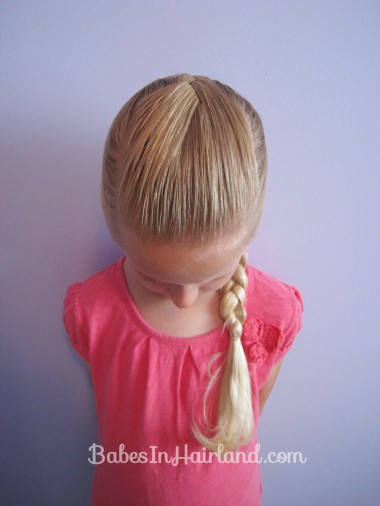
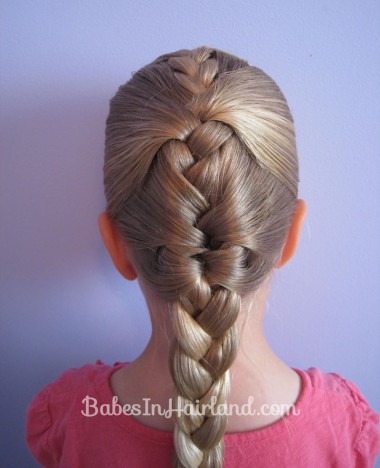
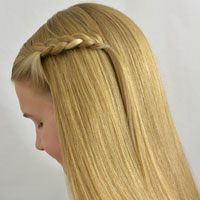
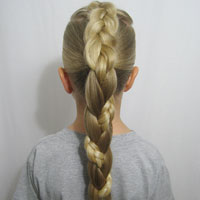
This is our “cheater French braid style – or maybe you could call it a French braid hack!? Technically it’s “Stacked Braids” but when I got done with it I thought it sort of resembled a French braid (yes? no?!) so if you can’t French braid, this is for you! It’s great for the summer and keeps the hair pulled back nicely. And if you’re working to grow out bangs, this would be a good one as well!
As a side note – you can do this with as many sections as you want to make it look even more “French” like, but we kept it simple and went with four.
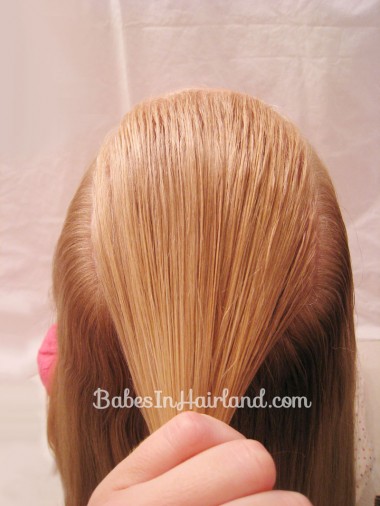
Step 1 – Part out a rectangular section of hair
From the temples, section out a rectangle on the top of the head. You can make this is big or as small as you want, but as I mentioned, we wanted to keep this simple so I used bigger amounts of hair as I sectioned the hair out.
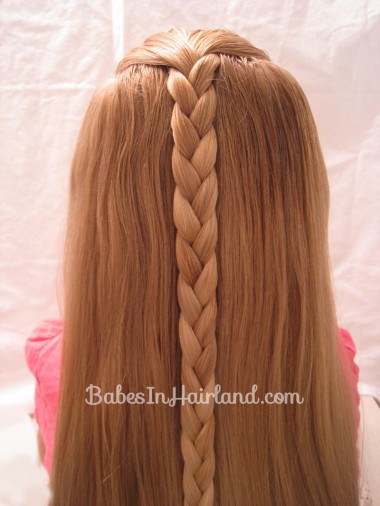
Step 2 – Make a braid
Braid most of the way down and secure temporarily with a clip.
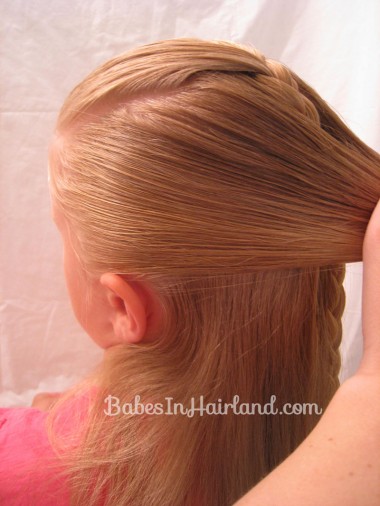
Step 3 – Part hair from the ears back
You’ll do this on both sides & pull it straight back.
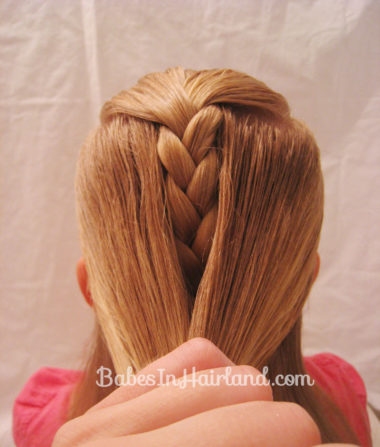
Step 4 – Make a 2nd braid
You’re going to need to make 3 sections out of these 2 to make another braid. Take some hair from the inside left, and inside right and that will be the hair for the middle section of of this next braid.
This second braid will sit right on top of your first braid. DON’T add the first braid to it. It is a completely new braid.
Braid it down past the nape of the neck and secure with a clip temporarily.
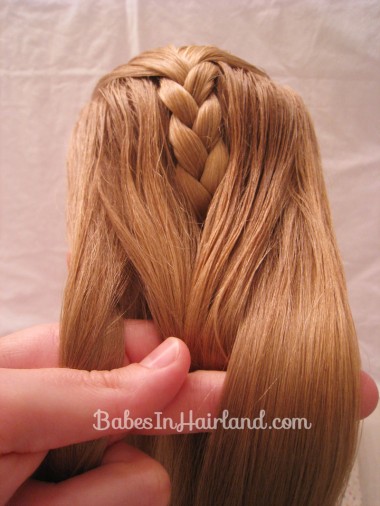
Step 5 – Make a 3rd braid
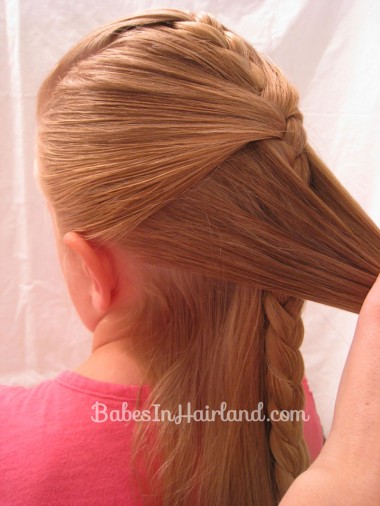
Repeat the process as shown above, parting out another section of hair right below the one above. Divide the 2 sections into 3 to make another braid.
This 3rd braid will lay right on top of the other 2 braids. Again – DON’T add either of the other two braids into it.
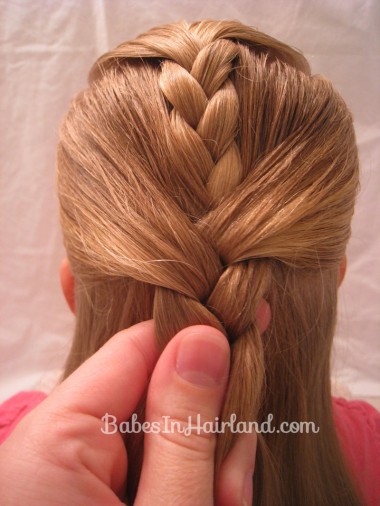
Step 6 – Make a 4th braid
As shown above, repeat the process with a fourth braid that lays on top of the other three braids.
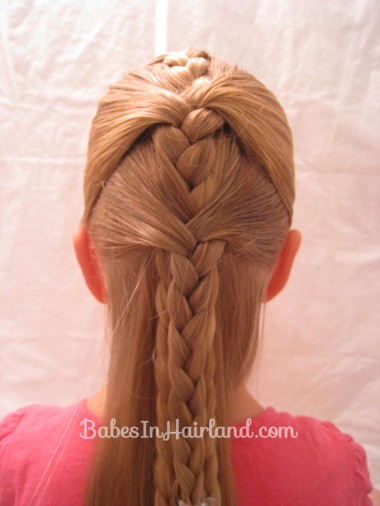
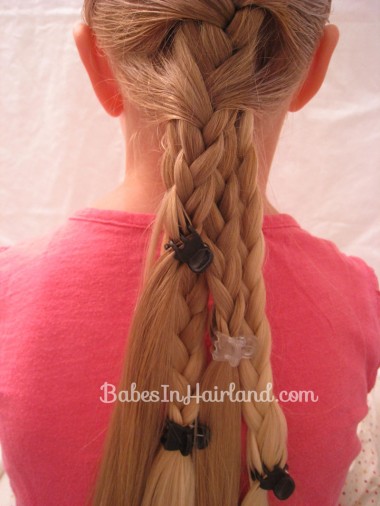
This is what it will look like when you’ve made all 4 braids. **Again, you can part out more sections of hair for this and have a lot more than 4 braids at the end. **
Step 7 – Undo the first 3 braids
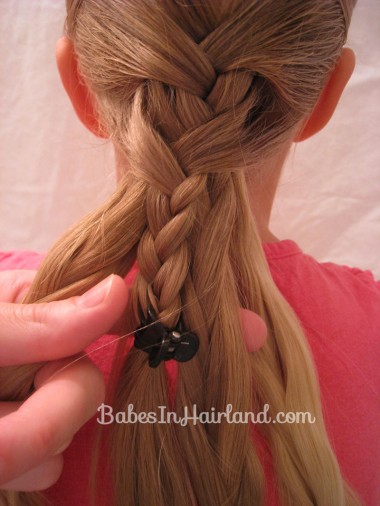
Take out the clips from the first 3 braids you made so they unravel a bit. These are the 3 bottom braids. Be careful that they don’t completely come undone. Leave the clip in the 4th braid (or last braid you made) for now.
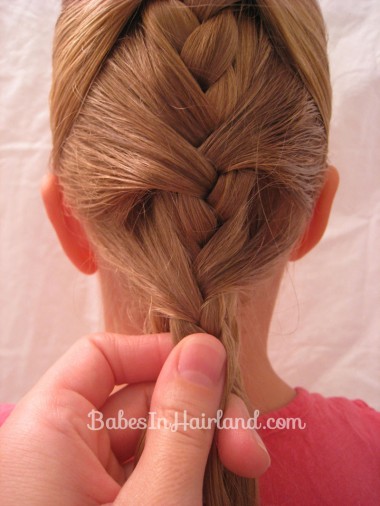
Step 8 – Braid the tail of the braid
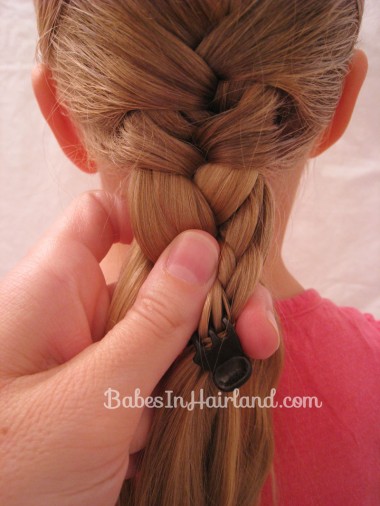
With the hair that was previously braided, use those sections of hair to make one big braid in the tail. For the middle strand of this braid, I used one of the unraveling braids and the 4th braid you made that was still held by the clip.
Once I’d done a few plaits, I slid the clip off of that 4th braid that was made in Step 6. That was to ensure that things didn’t completely come undone.
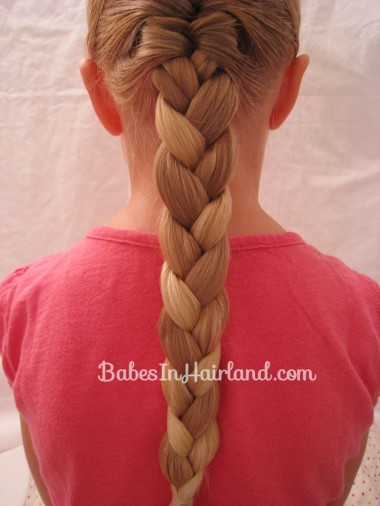
Step 9 – Secure the end of the braid with a rubber band
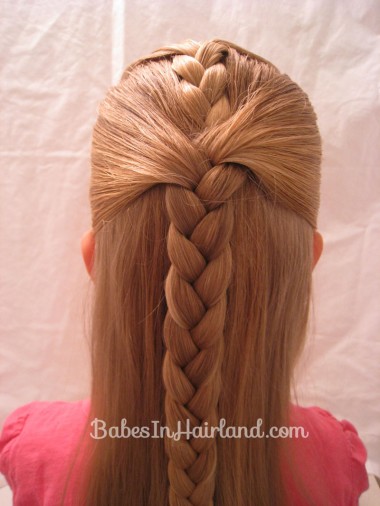
FINISHED!
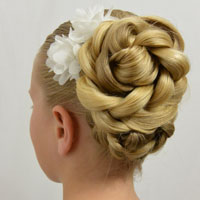
We’ve done this a few other times, ending it differently. We’ve braided all 4 braids into a 4 strand braid for the tail, instead of one thick braid like we show here. We’ve also done a pretty updo with it as well that we’ll post in the near future. We hope this helps some of you that struggle with French braiding because you hopefully won’t feel like you need 4 hands to do it!





i love this hair style i try this for school and evrey one ask how do you do that i tell him go to babes in hair land you will know thanks thanks and thanks love ya ^__^
Thanks Selena. Glad you like it. Hope it works for you. It’s one we’ve used a lot lately!
Great idea! Love the look of it even more than a “real” french braid.
Thanks Kori! That means a lot coming from you! 🙂
that’s really cute. thanks for posting
wowww
It’s perfect
I personally don’t, but lots of people struggle with french braids. I think it’s great that you com up with alternatives 🙂 Even if one person on Facebook don’t like it 😉
Thank you for everything you share! Keep doing what you do! 🙂
Thanks Grace for all your comments. Ya, that person on FB was one of those special ones. It’s a bit frustrating that when people finally decide to say something it has to be negative. But I’ve had to learn to have a thick skin blogging because I know no matter what I do I can’t please everyone. Thank you for always commenting and saying such nice things. It means a lot!
You are very welcome. I was very surprised to see that you don’t have more comments. And I just happen to feel like commenting, something I rarely do. I quite like to just watch and be more anonymous ..and I guess be more of a fly on the wall.
I’m sorry that you have deal with that. There is so much hate. Sometimes I wonder what people would use all that time to if it was impossible for just one day. And no one can please everyone, that’s impossible!
http://www.youtube.com/watch?v=Wui-PNqJrxs
Well thanks for not staying a fly on the wall forever! And thanks for the little video clip! Made me smile! I say that a lot to my girls & I wish more people would abide by that rule too! lol I did lose a lot of comments when I brought my blog over to WordPress but people do tend to just look and move on, or comment on FB I guess. It’s all good though. It is what it is! 🙂
You are welcome, it has been fun to talk with you! You are very welcome, I don’t remember where and when but I have seen it being posted before where it fit right in, just like now (or then, it has already been a month). Yay for making you smile, I love to make people smile 🙂 I agree with you but I also feel that constructive criticism is important, but not always appropriate! Mostly people just complaint. Oh that explains a lot about the comments!
Have a nice day! 🙂
Awesome for school days. Quick and pretty
This is one of my favorites. I did it yesterday for all three of my girls to go to the park. PERFECT hairdo for play time outside! Thanks for posting
haha cute i would do this but there is no need because i know how to do it in my hair so yah