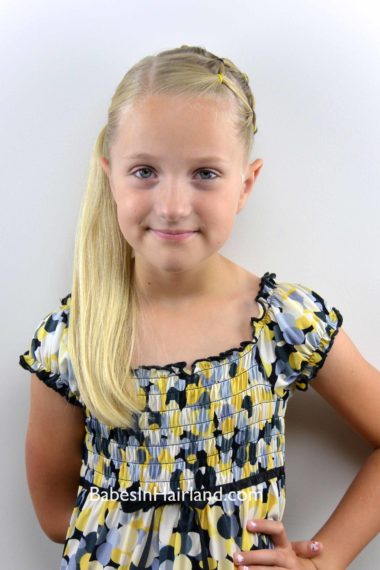
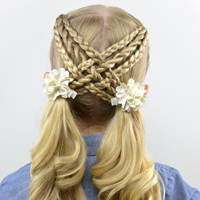
This cute style is one for a day of play, school, or sports. We used to do these types of styles a lot when the girls were younger, and quite frankly I miss them a bit! Bee is only 8 so we figured we could still get away with this type of style still on her – but probably not for much longer! 
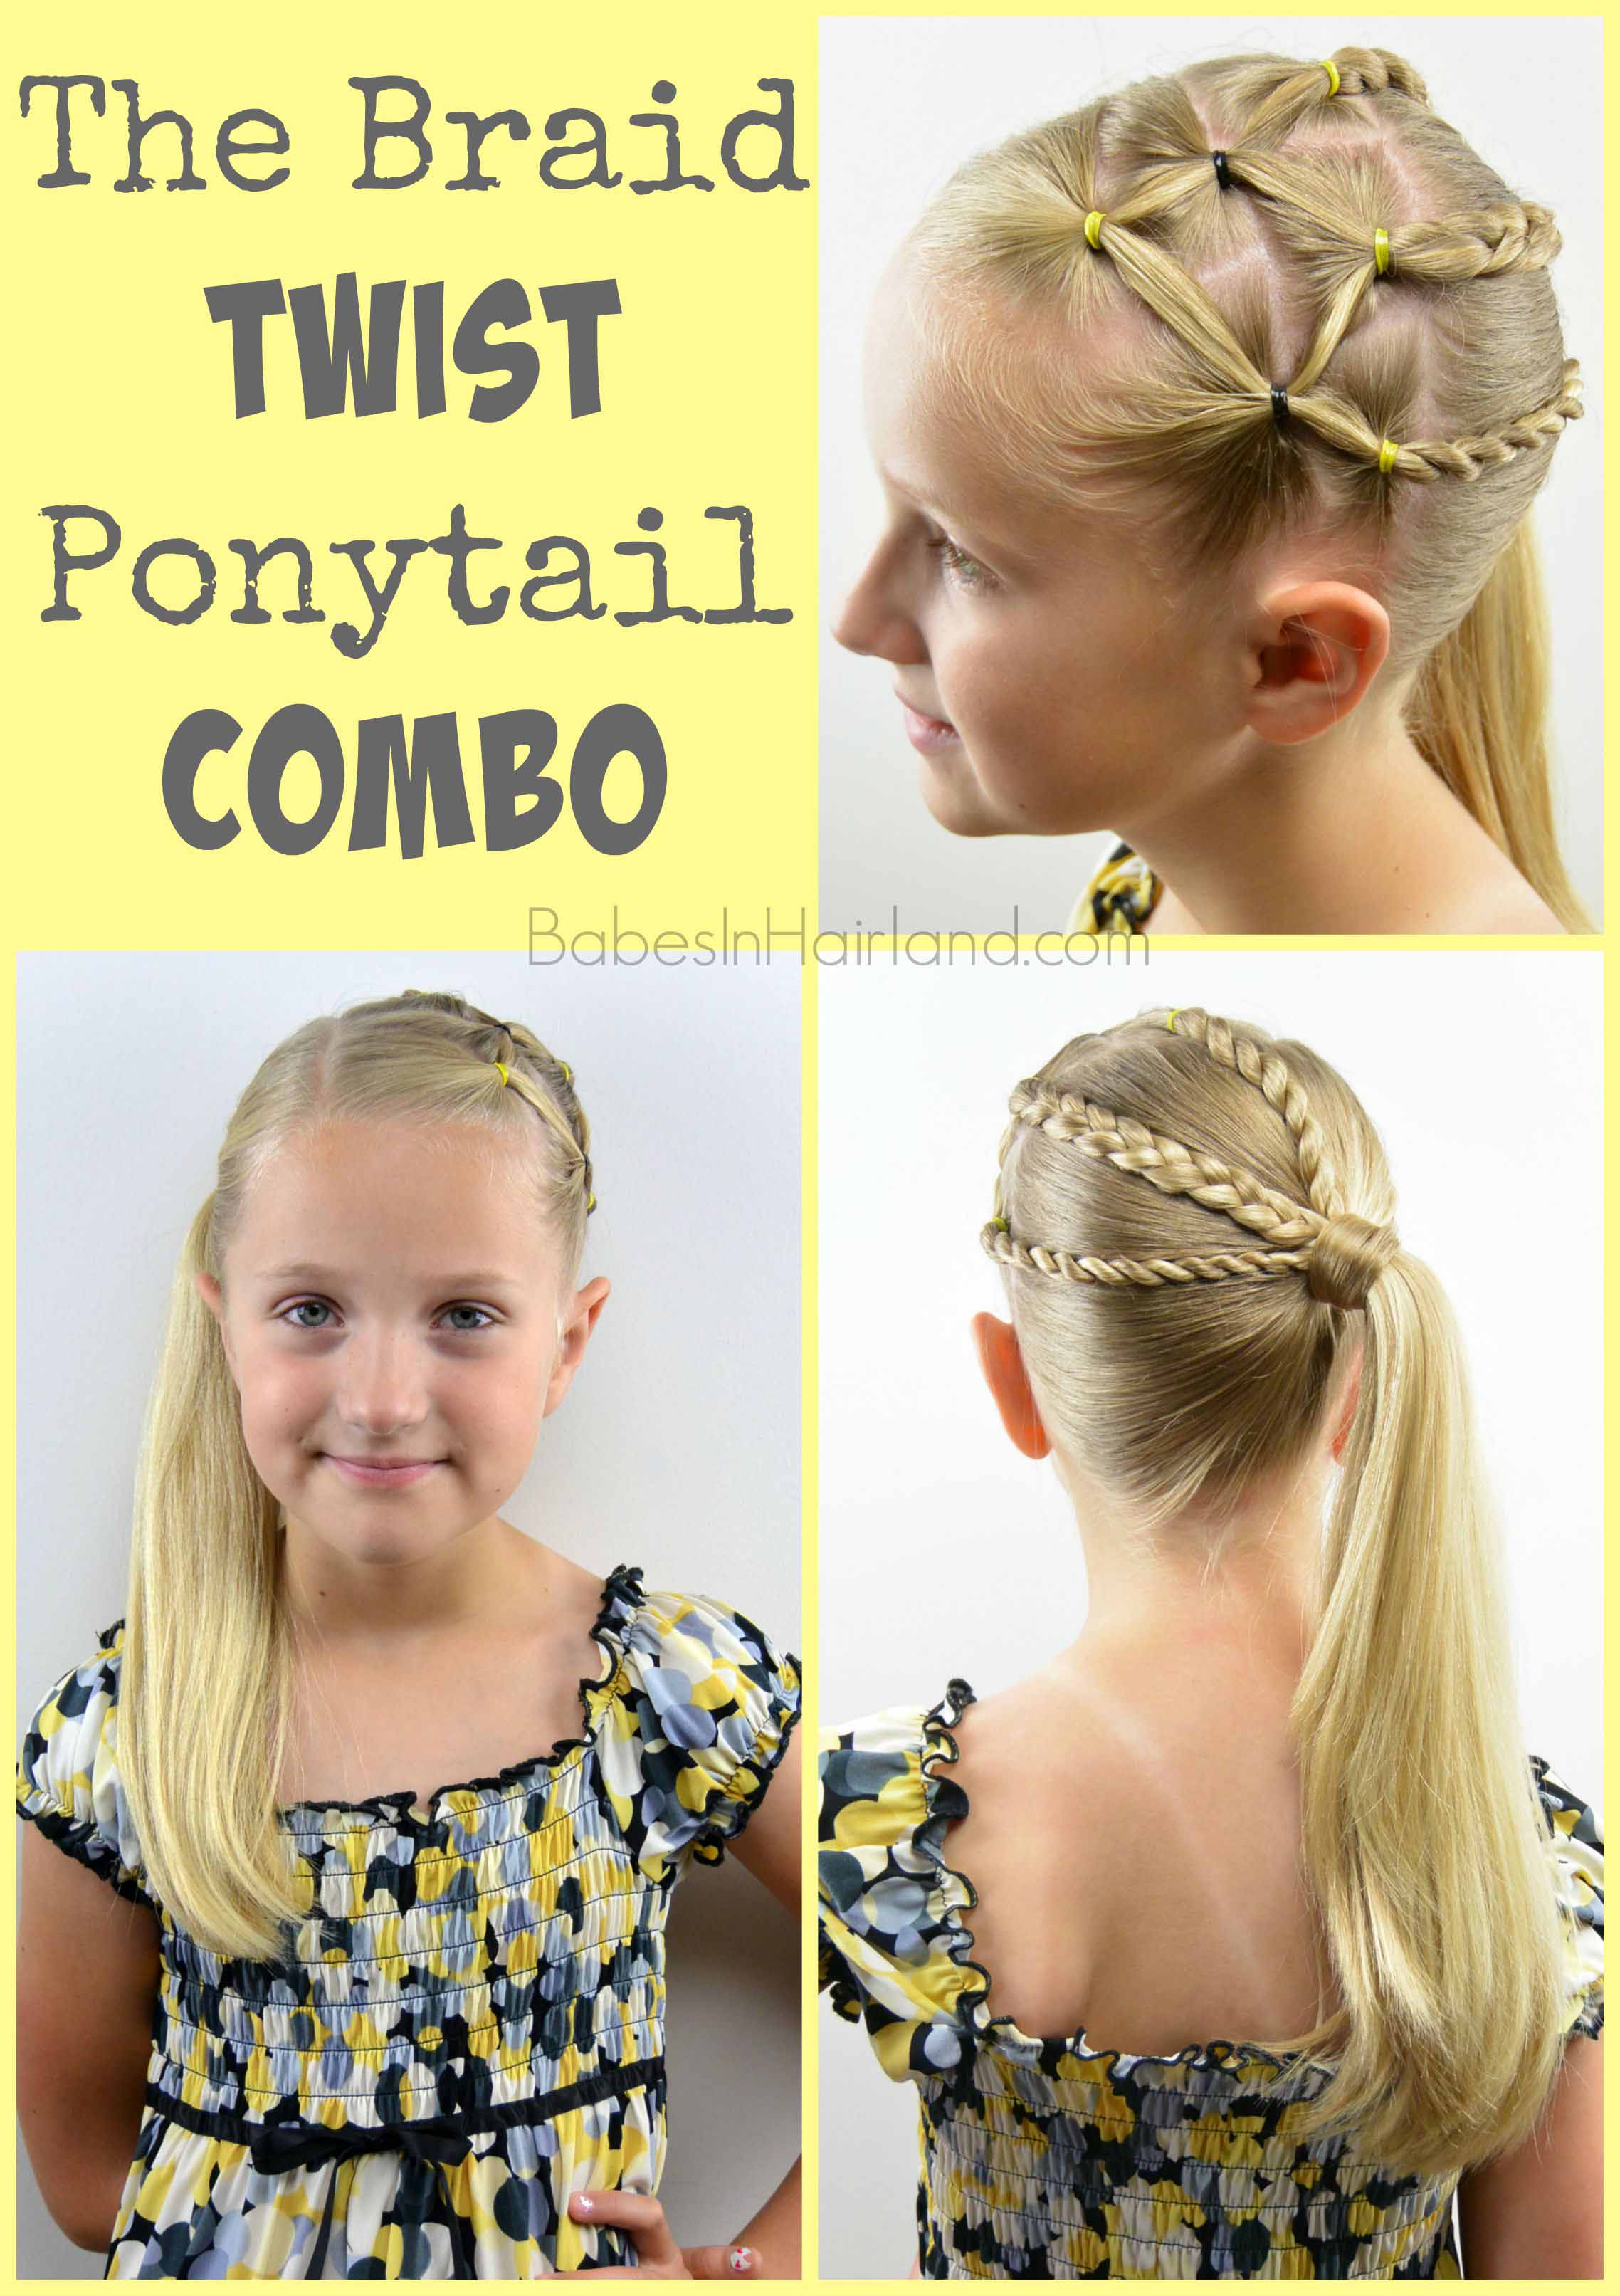
This one isn’t complicated, it just takes a bit with the parting and making the little ponytails – at least for me. I really like styles like this too, because you can change the look by doing a mixture of different techniques – braids, twists, a bun instead of a ponytail, etc.
Step 1 – Make an off-center part on the right from the forehead to the crown
Step 2 – Part out a small triangle of hair near the center of the forehead & secure with an elastic
Step 3 – Part from the top of the head down to the front of the left ear
Step 4 – Divide that into 2 sections – a top and bottom section
You will be making small ponytails out of these sections, but will be adding hair from the ponytail you previously made
Step 5 – Divide the ponytail from Step 2 in half and add the right half to the top section you parted out in Step 4 – secure with an elastic to make a small ponytail
Step 6 – Using the other half of the ponytail from Step 2, add it to the bottom section you parted out in Step 4 and secure with an elastic
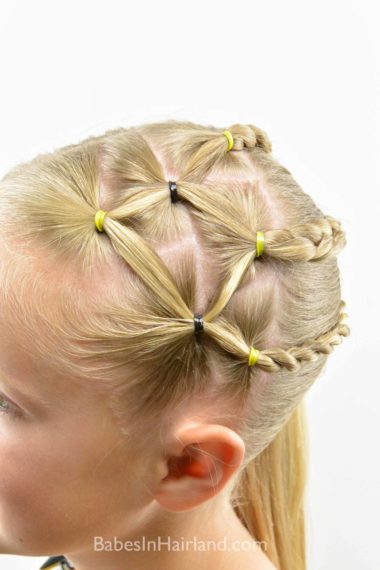
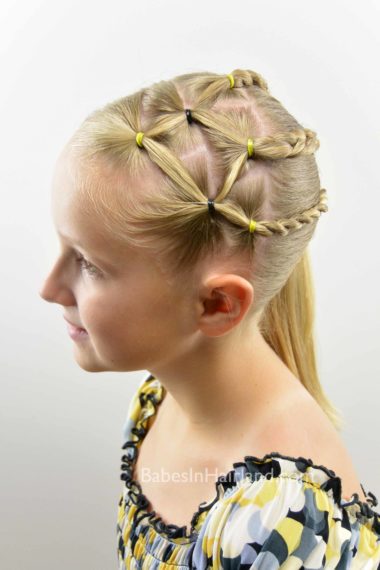
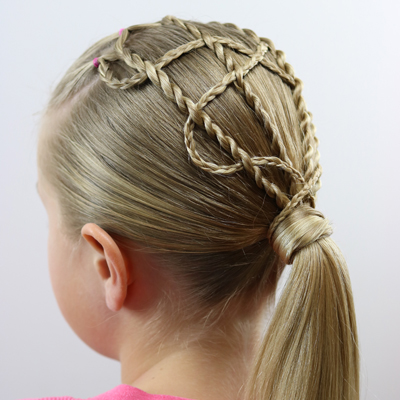
You will now have created a bit of a V pattern with these little ponies and elastics
Step 7 – Make another part from the top of the crown down to just behind the left ear
Step 8 – Divide this into 3 sections to make additional small ponytails
Step 9 – Add half of the ponytail from Step 5 into the top section you just parted out and secure into another small ponytail with an elastic
Step 10 – Add the other half of the ponytail from Step 5 and half of the ponytail from Step 6 in the middle section of hair you parted out to create another small ponytail
Step 11 – Take the remaining hair above the left ear and add the other half of the ponytail from Step 6 to create one last little ponytail
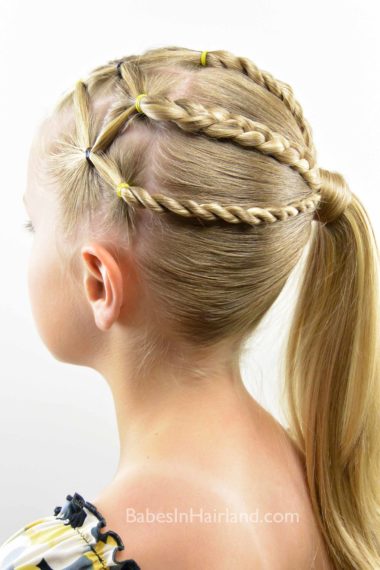
You’ll have a cute lattice work of little ponytails when you are done. We used colorful elastics to match the dress she was wearing which makes it fun as well!
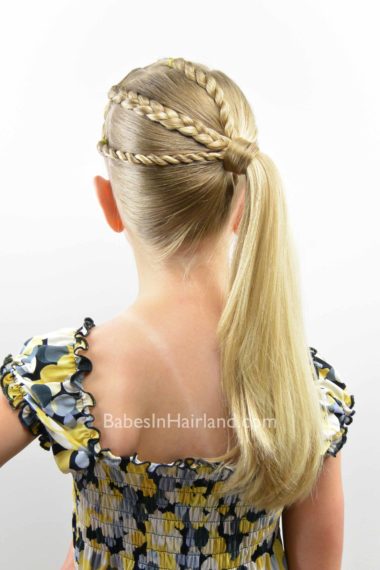
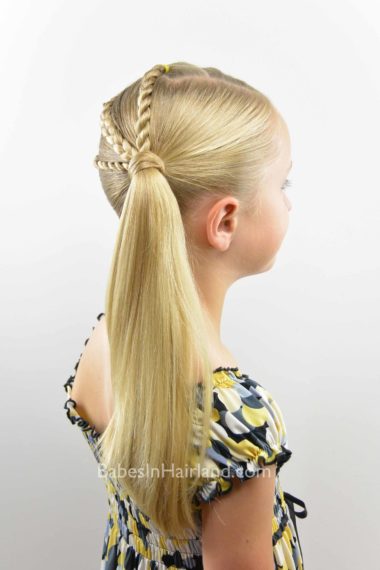
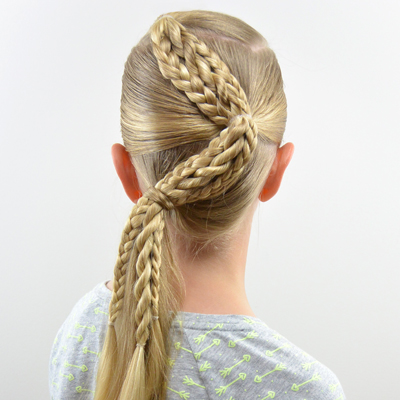
Step 12 – With all remaining hair, draw it all to the right side of the head and make a ponytail near the right ear. Don’t include the tails from the 3 ponies you made on the left side of the head.
Step 13 – With the tails from the ponies on the left side, make rope twists or braids and temporarily clip the ends
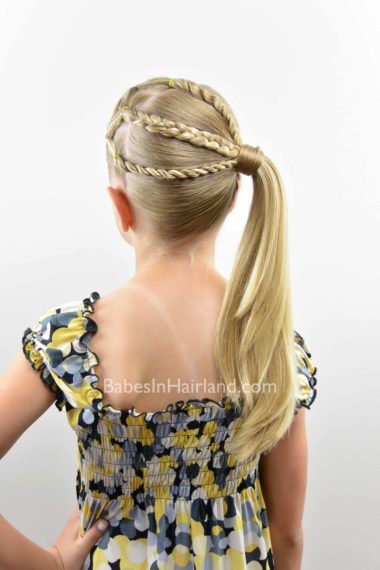
This part you can do whatever you prefer. You could do uneven 3 strand braids, rope twists, 4 strand braids, uneven rope twists – really whatever you want. I gave her the option of so many things and she still chose to go simple with 2 rope twists & a regular braid in the center!
Step 14 – Draw your braids/twists or whatever you did, to the right side and secure to the base of your big ponytail
Step 15 – Add an accessory to the top of the ponytail or wrap the base of the ponytail with hair
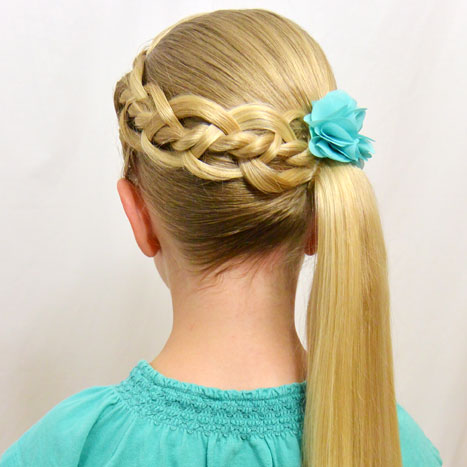
You could also finish this style off with your favorite kind of bun, or you could braid the ponytail as well. This style lets you mix things up however you like! If you need help wrapping the ponytail base, watch our video HERE.
FINISHED!
What do you think? Is your little girl old enough to still sport this type of style? Or do you think age really matters when it comes to styles like this? Try some of our other cute “connected ponytail” styles HERE.
